Help needed
There is an unfinished robotic project at this URL: https://github.com/mkramar/dizzyrobot/tree/master/3D
Because I’m too busy with electronics, I’m looking for a person who will help me finish mechanical 3D design.
OpenScad
The project was developed using OpenSCAD 3D modelling software. It is a scripting language. Instead of visually designing models you have to write scripts.
Who am I looking for?
Your experience with OpenSCAD is advantage but NOT absolutely necessary. Instead I’m looking for a smart person who will be happy to accept the challenge. Because OpenSCAD is a scripting language, preference will be given to someone with programming experience. It is not an easy project; you should be smart, creative, think out of the box and be prepared to invent 🙂
Clean code
Because of the size of the project it is important to keep code clean and manageable. You will have to write reusable modules, extract dimensions into variables, organize files with “include” etc.
Molding
In addition to motors and electronic boards, robot will be built out of plastic parts. This is what the project is about – design the plastic parts. Because 3D printing of this size is painfully slow, all parts will be manufactured using silicon molding. I consider project completed when molds for all the parts have been made and proved to work. Molds will be printed using 3D printer. Each part will be developed in the following stages:
- Design the part.
- 3D print the part to make sure that all the sizes are correct and fix errors if any; repeat until all good.
- 3D print the mold for the mold.
- Pour silicon into mold-mold and get silicon mold as a result; repeat until all good.
- Final parts will be made out of mold.
Your experience
I would prefer a person who has experience with 3D printing, but if OK if you don’t. It is better if you have a 3D printer of your own, but if you don’t I’ll probably buy you one. Unless you convince me otherwise, I believe it is essential for you to actually 3D print it and mold it, otherwise won’t have understanding whether it works or not. I’m prepared to change my mind though 🙂
Current state of the project
50% completed.
The structure of the files is defined, common functions are extracted, key settings and sizes are declared. Just by following existing examples other 25% of the project can be completed. Final 25% requires creative work and hard thinking 🙂
Some parts are developed to high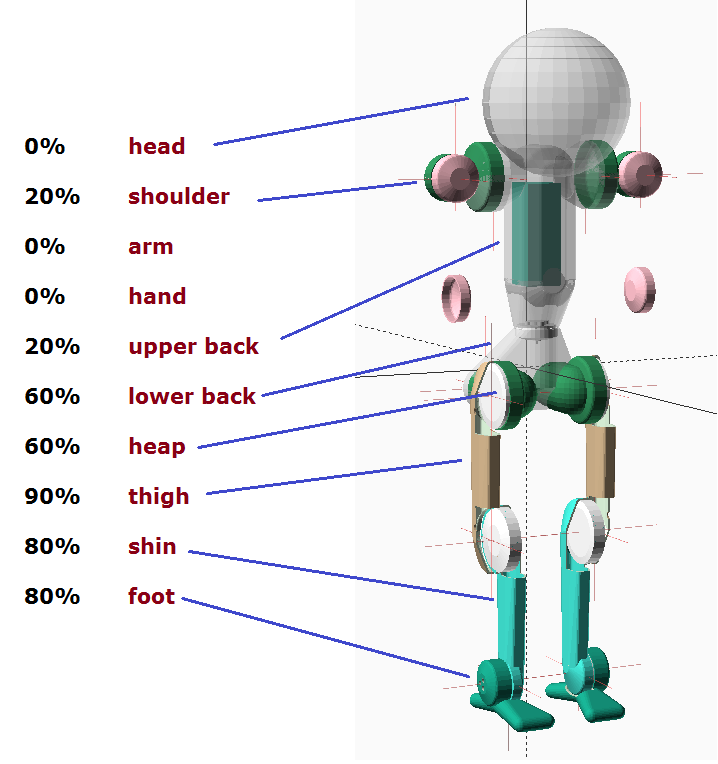 degree of precision, including mold. Other parts don’t have mold designed, but it can be easily done by following existing examples. Other parts are only rough scratch and you will have to invent methods to build them.
What do the parts look like?
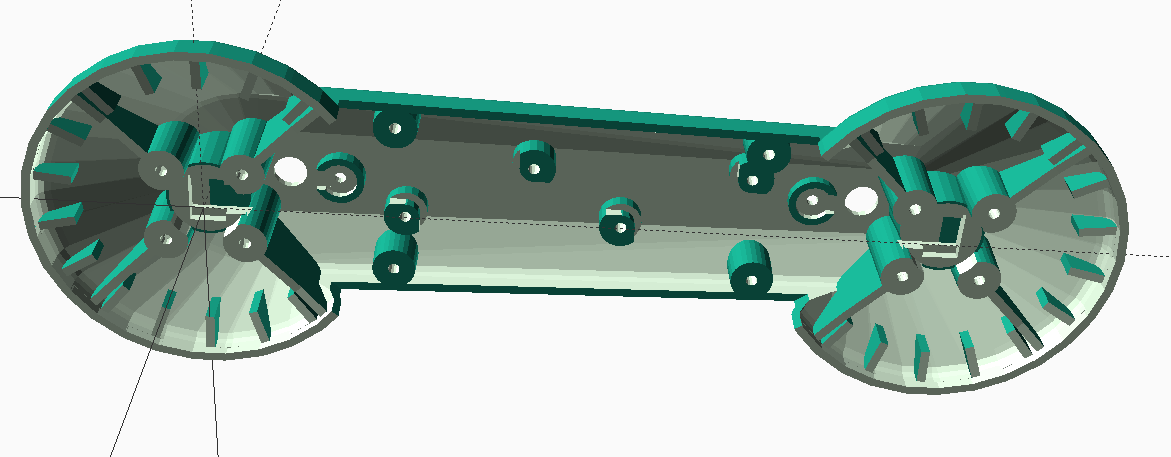
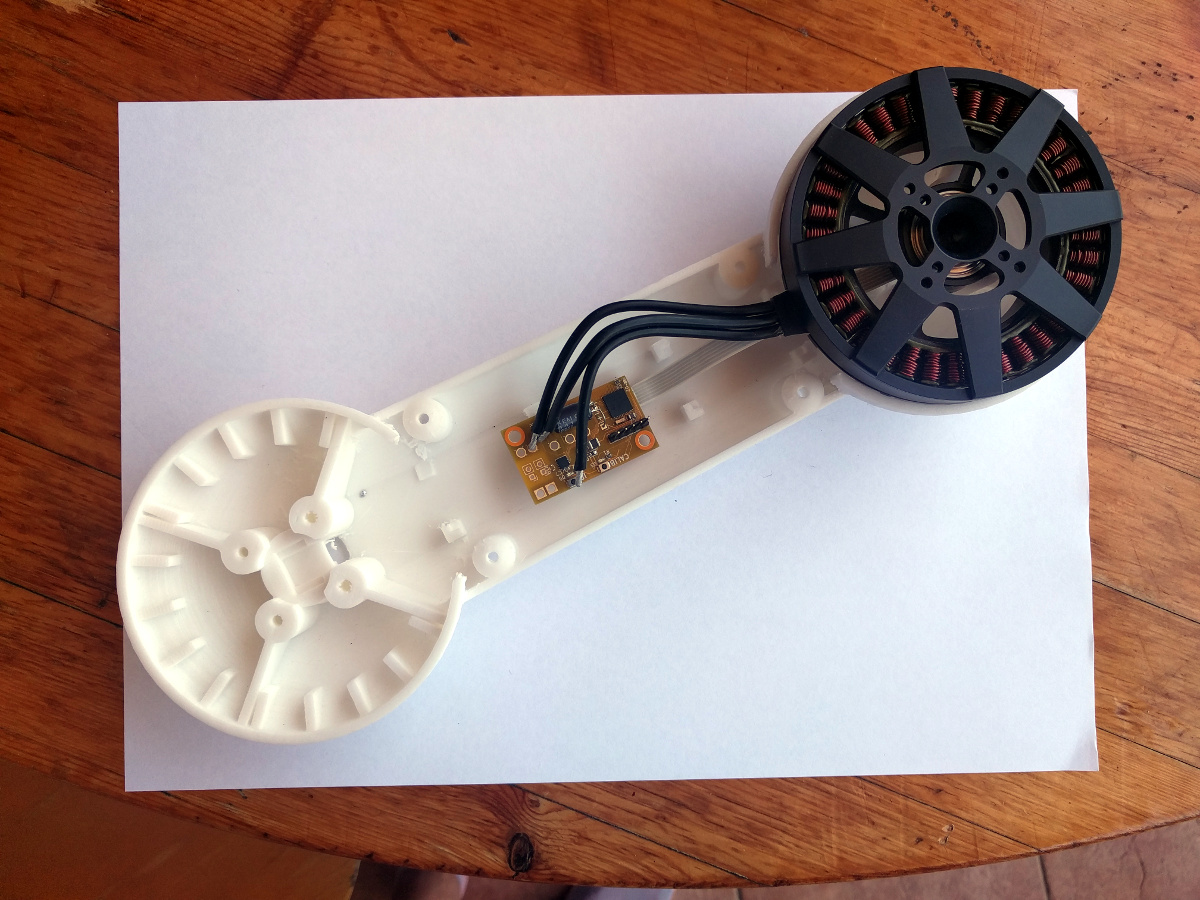
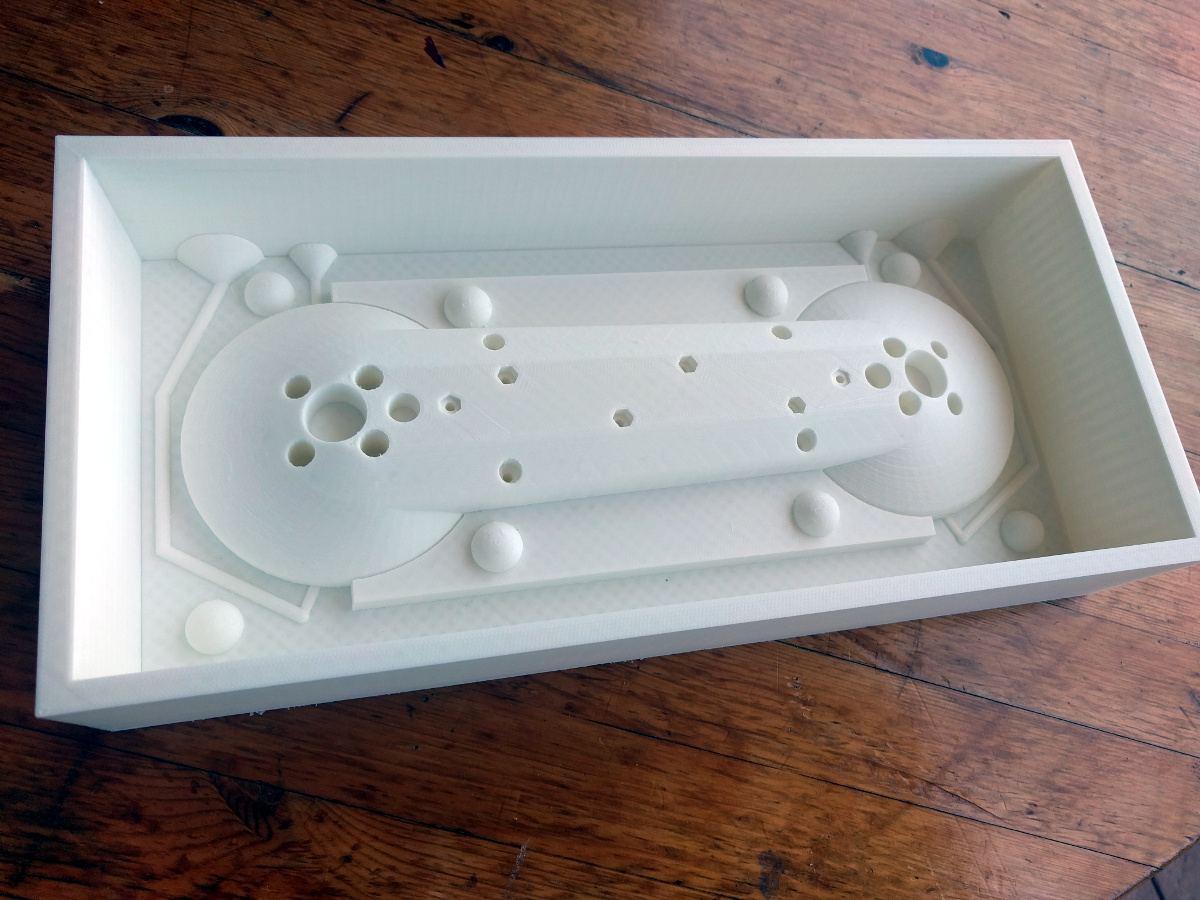
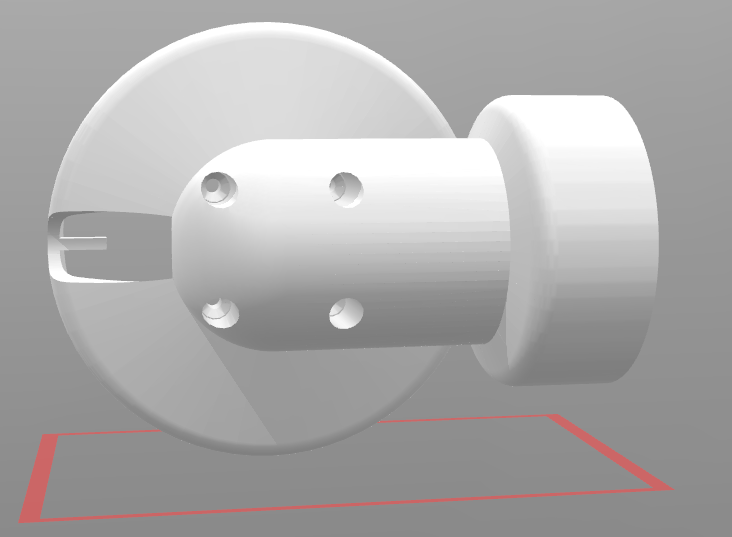
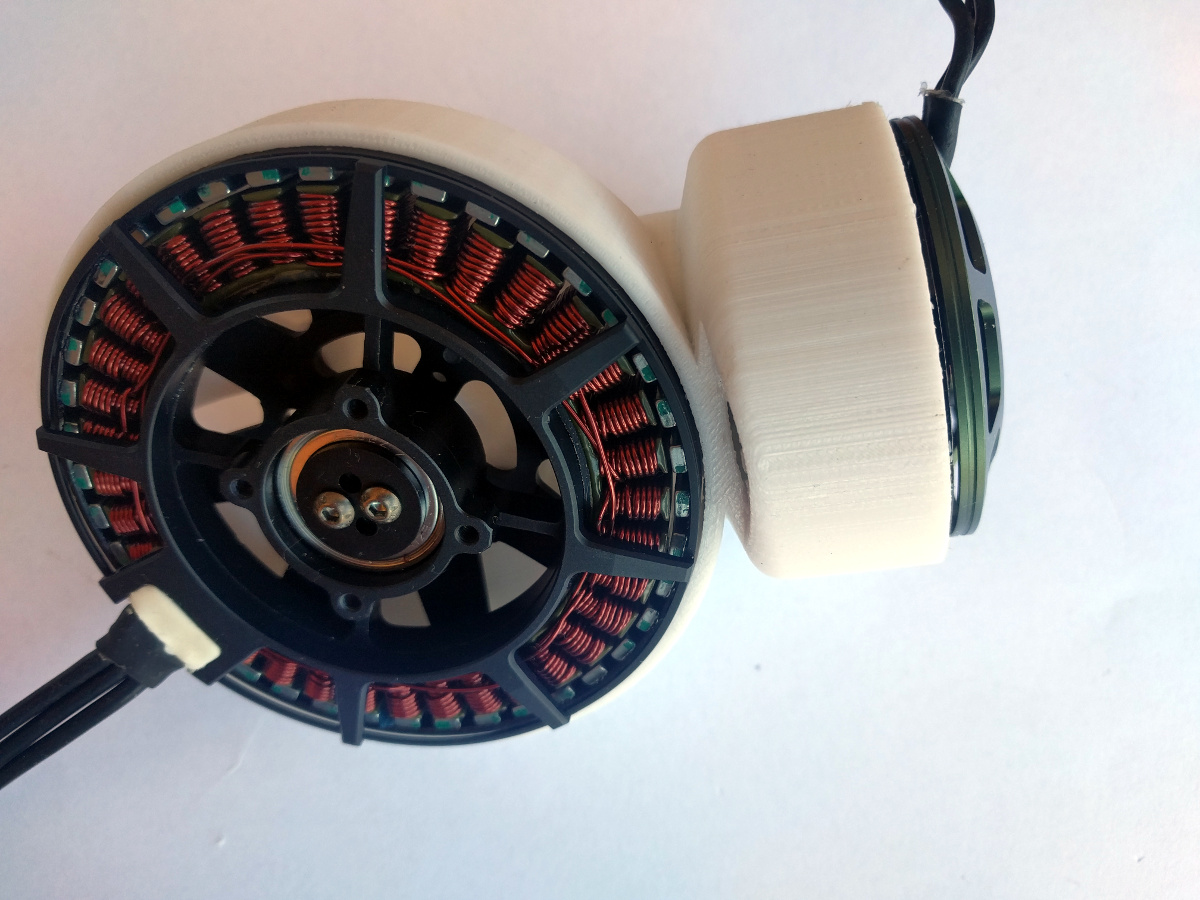
Just to give you an idea of the complexity of the parts, here are some screenshots of the thigh, the most completed part.
| This is what it looks like in the editor | This is it printed with motor installed | Model of the mold | Mold printed |
 |
 |
 |
 |
Here are some .STL models for you to have a look: DOWNLOAD HERE
Source code for all of this can be found at https://github.com/mkramar/dizzyrobot/tree/master/3D
What do unfinished parts look like?
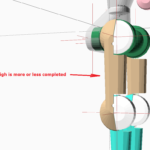
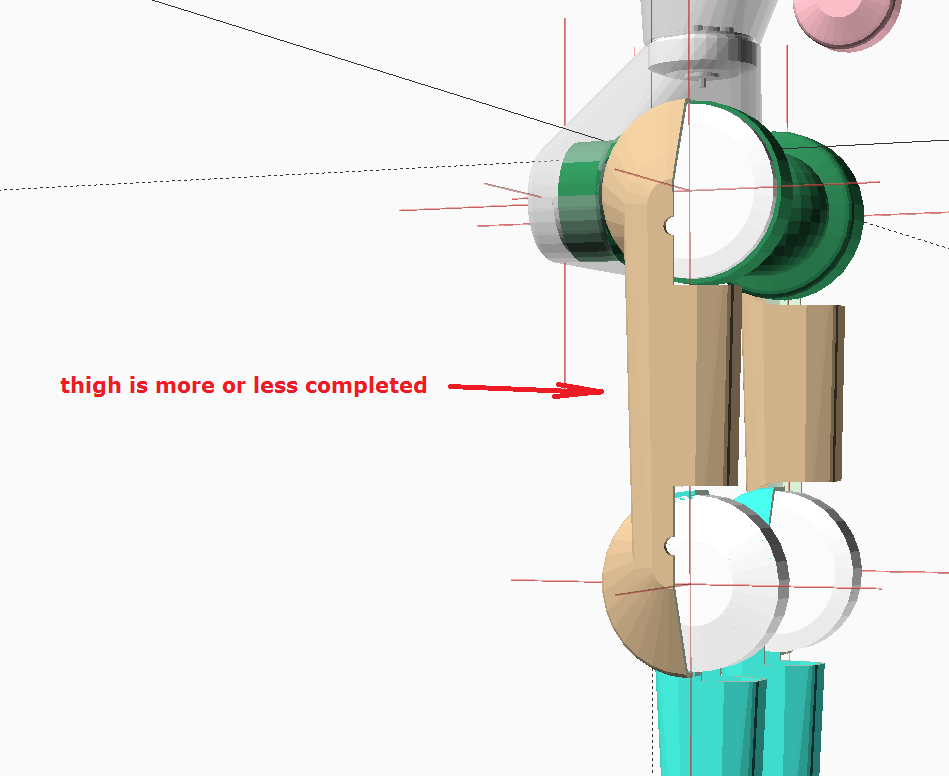
The above example demonstrated the part that is completely develop and the mold is ready. Here is example of the heap, the part that can only be printed but not molded.
 |
 |
 |
The framework
Reusing code is good, right? I use standard approach to making molds and prints. It goes like this: first you model a part without thinking about molding; then you apply some transforms to it to get a mold. The transforms are simple, it takes only a couple of lines of code. I call it “the framework”. The transforms are only applicable if the part was modeled following some guidelines. I expect you to understand and follow the framework (I will explain it in details later). Some of the partly completed pieces do not follow framework, they have to be converted (which is easy).
The framework limitations
The framework only supports 2-part molds. Think of cutting the mold in two pieces with a straight line. Thigh example above can be done in this way, but heap cannot; its motors are 90 degrees to each other which means more than one cut is required and mold will have more than two pieces. This is tricky part. This is something I’m not sure how to do. You will have to invent it!
Stage 1 – come up with approach (already completed)
- Think what would thigh look like with all the electronics inside and motors
 attached.
 - Design, print, repeat several times until happy.
- Come up with molding framework, repeat several times until happy.
This part is done. Framework I mentioned above is more or less stable.
Stage 2 – apply framework to other parts
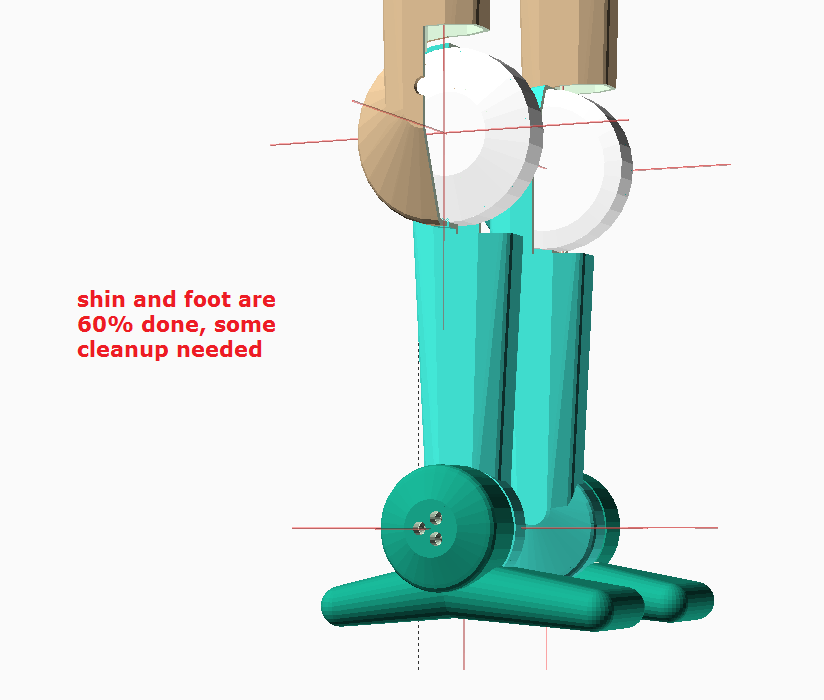
Now that framework is developed, lets apply it to other parts it can be applied to. Such parts are shin, foot and hand. They can be printed now, but they don’t conform to the framework and molds have not been designed. They all can be done using one cut, therefore the framework can be easily applied. You can easily do it by following thigh example. Honestly I could easily do it myself and the only reason I will ask you to do it is to familiarize yourself with the code.
See thigh. It has mold and print all made according to framework. Use it as example.
See shin. it has print but does not have mold. Finish the mold and cleanup the print.
See foot. it has print but not according to framework, but it does not have mold. Has to be finished according to thigh example.
See hand. Oh wait, it is not even there 😉 Has to be created from scratch by following example.
The goal here is to make all these parts follow the same example and make code clean and reusable and easy to understand. Make sure assembly view renders fine. Make sure to put all variables into sizes.
Stage 3 – modify framework for more complex parts
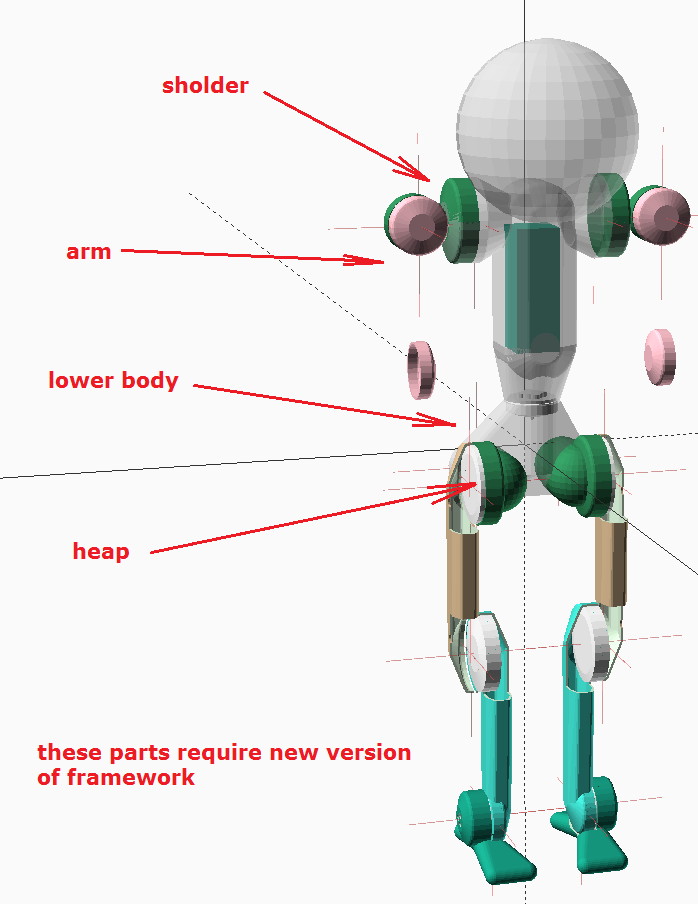
As I mentioned before there is a number of parts that have motors connected at 90% angle. Such parts are shoulder, arm, lower body and heap. Stage 3 will take one of these parts (heap I think) and come up with a way to make a mold for it.
Stage 4 – apply to the rest of the parts
Just like Stage 2 was generalization of Stage 1, Stage 4 is generalization of Stage 3. During Stage 3 heap should have been developed and a new version of framework should have been developed. OK now lets polish it and apply it to the rest of the parts.
The rest of it
Body and head we can discuss later. If all goes well, the project has a potential to evolve into ongoing mode with regular improvements. I have long list of ideas, but to lets keep it till later 😉
Setup you will need
- Internet access, good enough for video conferencing.
- You will need to understand basics of git.
- Most likely I will want you to 3D print the parts, so you should either own a printer or be happy for me to buy it for you. 3D printing is slow process; you will have to keep it running 24 hours a day and it is a bit noisy, so make sure you have a cozy corner to lock it.
How we organize work
I want to split project into manageable self-contained pieces. Stages above is as small as I could imagine so far, with your input we may re-imagine it. This is how we approach each stage:
- Initial discussion which will involve some email exchange and online Skype sessions with screen share where I show existing code and explain what I want.
- Together we come up with the checklist of deliverables. We agree on the list, make sure we both understand every detail of what is required. I will treat this checklist as a contract. Stage is only completed and payment is only made once every item in the checklist is checked.
- Once we know exactly what is required, we can estimate duration and price. This is just free-form discussion and hopefully we come to a consensus.
- Then you start working on it, keeping me posted in process. As a minimum I need to see your current changes in github, better if send me some email reports and we may need to have Skype sessions.
- Once the checklist is checked, I pay and we proceed to next stage.
I hope this approach will keep things clear and predictable and honest for both of us!
Hi. Came here from upwork where you posted a job.
I just don’t get it why do you use this software for such solution. I can design these parts working with SolidWorks and the design would be more flexible and easy to edit.
Here’s my profile on Upwork: https://www.upwork.com/freelancers/~01028aceb641dac57b I’m working on design for manufacturability and I can design printable parts.
Sorry, didn’t see that it’s comment, but not a PM.
Anatoly, it is OK. I did not realize that people can actually contact me via comments 🙂
Anatoly, I can see you have much better skills in the subject area than I do. Can we chat? What would be best way to do it?